 How-to
Cabinet Painting Services in Charleston: 2026 Guide
Table of Contents
- What to Expect From Cabinet Painting Services in Charleston
- The Cabinet Painting Process, Step by Step
- What Drives Cabinet Painting Cost in Charleston
- Cabinet Painting Timeline: What a Real Schedule Looks Like
- Cabinet Paint Colors That Suit Lowcountry Homes
- Painting, Refinishing, Refacing, or Replacing: Which Fits Your Kitchen
- Questions to Ask Before You Hire a Cabinet Painter
- Frequently Asked Questions
Last Updated: October 7, 2026
What to Expect From Cabinet Painting Services in Charleston
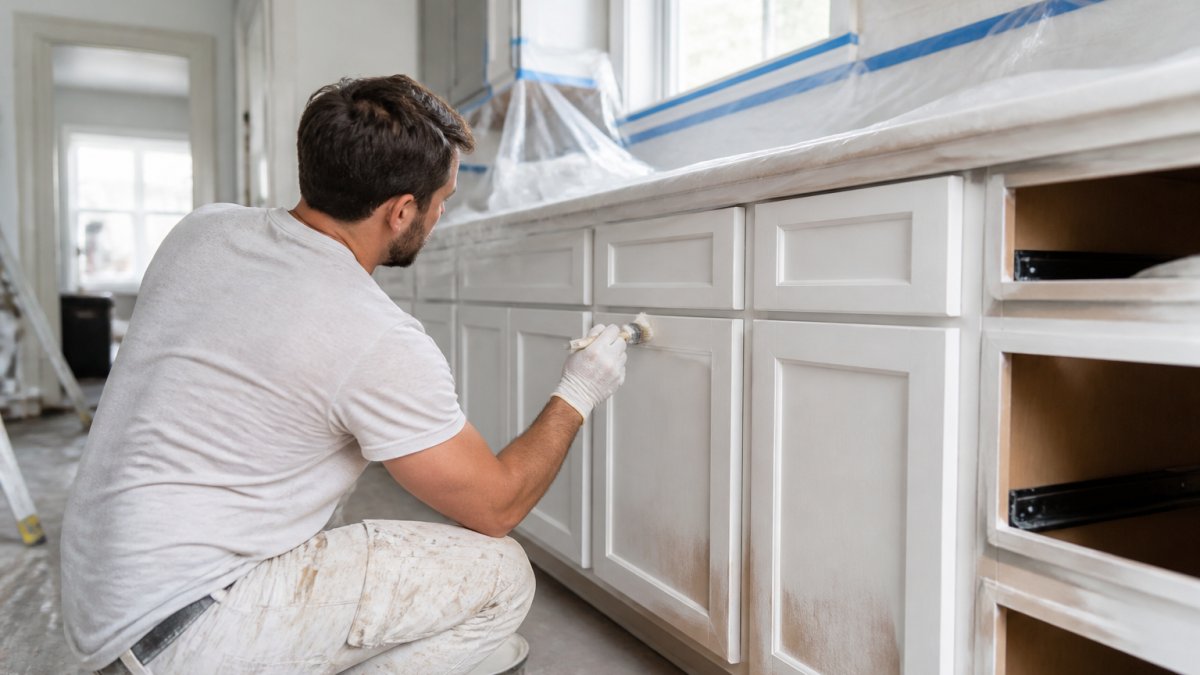
Professional cabinet painting services in Charleston transform a kitchen without the cost and disruption of a full remodel.
The scope covers far more than rolling on color: hardware removal, surface preparation, priming, spray application, and reassembly. Prep takes longer than painting itself, and that is why the finish lasts.
Below, we break down what the work involves, what drives the price, how long it takes, which colors hold up in coastal homes, and what to ask any painter before you sign.
The Cabinet Painting Process, Step by Step
The cabinet painting process follows a predictable sequence: remove and label, clean, sand, prime, spray, cure, and reassemble. Rushing any stage shows in the final finish.
- Remove doors, drawer fronts, and hardware. We label every piece so it returns to the exact opening it came from.
- Clean and degrease. Kitchen cabinets collect cooking grease and hand oils. A degreaser removes both so coatings can bond.
- Sand and scuff. Light sanding gives the surface a profile the primer can grip.
- Prime. A bonding primer seals the old finish and blocks stains from bleeding through.
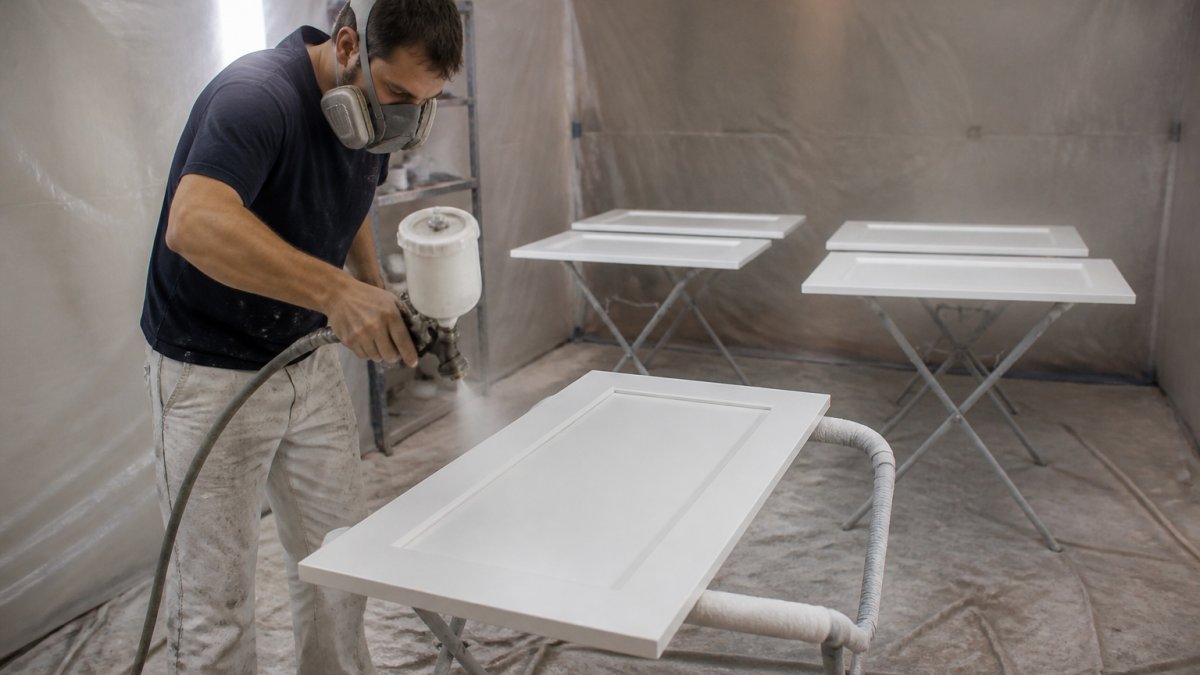
- Spray the coating. We spray cabinet doors and drawer fronts in a controlled area for a smooth, even finish.
- Cure, then reassemble. Coatings need time to harden before doors go back on their hinges.
Why Surface Preparation Decides the Finish
Surface preparation decides the finish because paint only performs as well as the surface beneath it. Cleaning, sanding, degreasing, and priming separate a coating that lasts from one that peels.
The most common shortcut is skipping degreasing. Grease hides in the grain and behind hardware holes, primer will not bond to it, and the failure shows up months later as peeling around handles.
What Drives Cabinet Painting Cost in Charleston
Cabinet painting cost depends on four factors: door and drawer count, the condition of the existing finish, the coating system, and how much repair the boxes need. There is no flat rate, and any painter who quotes one without seeing your kitchen is guessing.
Here is how each factor moves the number:
| Cost Factor | What Raises It | What Keeps It Lower |
|---|---|---|
| Door and drawer count | Large kitchens, pantry runs, islands | Compact galley layouts |
| Existing finish condition | Chipped, peeling, or greasy surfaces | Sound, factory-finished cabinets |
| Coating system | Specialty finishes, multi-coat systems | Single-color spray finish |
| Repair scope | Cracked frames, loose joints, water damage | Boxes in solid shape |
The coating choice is the factor homeowners underestimate most. A quality sprayed coating costs more up front than a brush-and-roller job but delivers a smoother finish and holds up better to daily use.
How the Numbers Actually Move
Most homeowners want a benchmark before they call anyone. Every kitchen differs, but the pricing mechanics follow a predictable pattern worth understanding before you compare estimates.
Door and drawer count is the primary driver. A typical kitchen has 20 to 40 doors and drawer fronts, each removed, labeled, cleaned, sanded, primed, sprayed, cured, and reinstalled.
Surface condition determines prep hours. Factory-finished cabinets in good shape need a light scuff and a bonding primer.
Coating system sets the material cost. A single-stage acrylic enamel is the least expensive option.
Why We Do Not Publish Flat Pricing
A flat per-door price sounds convenient but hides the variables that determine your project. Two kitchens with the same door count can differ by thousands of dollars once condition, coating, and repair scope are factored in.
Ask for estimates itemized by scope: prep, priming, coating, materials, and reassembly. At The Pampered Home, we provide a free quote with line items broken out so nothing is buried.
Cabinet Painting Timeline: What a Real Schedule Looks Like
A realistic cabinet painting timeline runs five to eight working days for most kitchens, with drying and curing time built in. Anyone promising a one-day transformation is skipping steps that protect the finish.
A typical schedule looks like this:
- Days 1-2: Removal, labeling, cleaning, and sanding
- Days 3-4: Priming and first coating
- Days 5-6: Second coating and detail work
- Days 7-8: Curing, hardware replacement, and reassembly
Drying time between coats and curing time before heavy use are not negotiable, cabinets get handled constantly, and an uncured coating will scratch and mar. For a holiday deadline, start four to six weeks ahead.
Cabinet Paint Colors That Suit Lowcountry Homes
Cabinet paint colors that work in Lowcountry homes lean toward soft whites, warm greiges, and muted coastal blues and greens. These shades reflect the region's natural light and pair well with the coastal style many Charleston kitchens follow.
A few directions that hold up well:
- Soft whites and creams brighten smaller kitchens and make rooms feel larger.
- Warm greiges add depth without going dark, and they hide everyday smudges better than pure white.
- Muted blues and seafoam greens echo the water and marsh light, especially on islands paired with white perimeter cabinets.
- Deep navy or charcoal works on islands and lower cabinets where you want contrast.
Custom colors are where a project becomes personal. We match a swatch you bring us or help you narrow options against your countertops and flooring.
Sheen Matters as Much as Color
Homeowners spend hours on color and almost no time on sheen, yet sheen is what makes a cabinet finish look factory-smooth or obviously repainted. Coatings come in matte, satin, semi-gloss, and gloss.
- Matte and satin hide surface imperfections and read as modern, but they show fingerprints and grease more readily in a working kitchen.
- Semi-gloss is the traditional cabinet sheen. It cleans easily, resists moisture, and reflects light, which can highlight any unevenness in the surface beneath.
- Gloss delivers the hardest, most washable film but amplifies every flaw. It is unforgiving on cabinets that were not sprayed.
For most kitchens, satin on perimeter cabinets and semi-gloss on the island is a practical split. If you want a matte look, ask your painter which matte cabinet coating they use, some matte products are far more stain-resistant than others.
Choosing a Coating, Not Just a Color
Color is the finish; the coating is what makes it last.
Waterborne acrylic enamels are the most common professional choice.
Waterborne alkyds combine the hardness of an oil-based finish with water-based cleanup.
Two-component (2K) polyurethane and conversion varnish are the hardest, most chemical-resistant options.
Oil-based enamels still cure hard but yellow over time, especially in whites and creams, and carry a strong odor and long recoat windows.
Primer and Bonding: The Step That Decides Everything
No topcoat will hold if the primer fails. Cabinet surfaces are among the hardest to bond to, smooth, sealed, and often coated with factory lacquer or a previous paint job.
A bonding primer is formulated to grip slick surfaces and is the standard first coat on factory-finished cabinets.
A common pattern is a shellac-based or urethane-modified bonding primer followed by two coats of cabinet enamel.
Curing, Not Just Drying
Paint dries in hours; it cures over days to weeks. Cabinet coatings keep hardening after they feel dry, so handle doors gently and hold off on heavy use, slamming, scrubbing, stacking dishes against the finish.
Most professional cabinet coatings reach full cure in about seven to fourteen days, depending on product, humidity, and airflow. Your painter should give you the specific recoat and cure times for their coating, not a generic rule of thumb.
Painting, Refinishing, Refacing, or Replacing: Which Fits Your Kitchen
Painting fits most kitchens with sound boxes and dated color. Refinishing suits cabinets with minor wear needing a refreshed top layer. Refacing replaces doors and veneers while keeping the boxes. Replacing makes sense only when the structure has failed or you want a new layout.
Here is the honest comparison:
| Option | Best For | What Changes | Disruption |
|---|---|---|---|
| Painting | Sound boxes, dated color | Color and sheen only | Low |
| Refinishing | Light wear, worn topcoat | Surface layer restored | Low |
| Refacing | Worn doors, good boxes | Doors and veneer fronts | Moderate |
| Replacing | Failed structure, new layout | Everything | High |
Painting and refinishing preserve your layout and cost far less than replacement. Replacing is right when drawers stick, frames are water-damaged, or you want to reconfigure the room.
Questions to Ask Before You Hire a Cabinet Painter
Ask any cabinet painter four things before you hire: how they prepare surfaces, what coating system they use, how they handle drying and curing time, and whether they can show completed local work.
Bring this checklist to every estimate:
- Do you remove and label every door and drawer front?
- What degreasing and sanding steps are included?
- What primer and coating products will you use?
- Do you spray or brush and roll, and why?
- How many days between final coat and normal use?
- Can I see before-and-after photos from local homes?
- What does your workmanship warranty cover?
- Is the quote itemized by scope, not just a lump sum?
The last question matters most. An itemized quote shows exactly what is included, so you can spot a low bid that leaves out priming or hardware replacement.
At The Pampered Home, we walk you through the scope, show you finished work from Charleston-area homes, and stand behind the craftsmanship.
Frequently Asked Questions
How much does it cost to have cabinets painted professionally?
Cabinet painting cost depends on the number of doors and drawers, the cabinet layout, the condition of the existing finish, and the coating you choose. In the Charleston area, most providers quote per project rather than per door, and rates vary with prep work needed for older homes. The Pampered Home does not publish flat prices because no two kitchens are identical. Request a project estimate and free quote so the scope, prep steps, and finish are priced together.
Is it worth having kitchen cabinets professionally painted?
For most homeowners, yes. Cabinet painting refreshes the entire kitchen at a fraction of the cost of replacement, and the cabinets stay in place, so plumbing, countertops, and tile are untouched. It also solves dated color and worn finish without a full kitchen renovation. The result depends on preparation and coating quality. A sprayed, properly primed finish holds up far better than a brush-and-roller job done over a greasy surface.
How long does professional cabinet painting take?
Most kitchens take about one week from setup to final cure, though cabinet painting timeline varies with door count and finish condition. A typical schedule runs one to two days for removal, labeling, and cleaning, one to two days for sanding and priming, a day or two for spraying doors and frames, then reassembly once the coating dries. Curing continues for several days after the doors go back on, so avoid heavy scrubbing during that window.
What should I look for when hiring a cabinet painter?
Ask about surface preparation, coating products, and how they handle doors and drawer fronts. A professional painter removes hardware, labels every door, degreases and sands before priming, and controls dust in your home. Request photos of finished projects, ask for references from local homeowners, and confirm who handles touch-ups after installation. Clear answers about project scope and workmanship tell you more than any advertised price.
Cabinet painting is one of the highest-return updates a Charleston kitchen can get, but only when the prep and coating work are done right. If you want a flawless finish that holds up to real family life, The Pampered Home brings quality sprayed coatings, expert design, and precision craftsmanship to every project. Get started with The Pampered Home and see how a refreshed kitchen changes the way your home feels.